Hatch Chiles: Where it all began
Around the 1980’s, a man named Jim Lytle rediscovered the chile and picked up right where Dr. Nakayama left off. Being a true farmer, Jim took this chile under his wing and started to plant and harvest the chile for several years. During the last year of Jim’s life, around 1987, the chile was approved by the New Mexico Crop Improvement Association and named in honor of the late Jim Lytle, “Big Jim”.
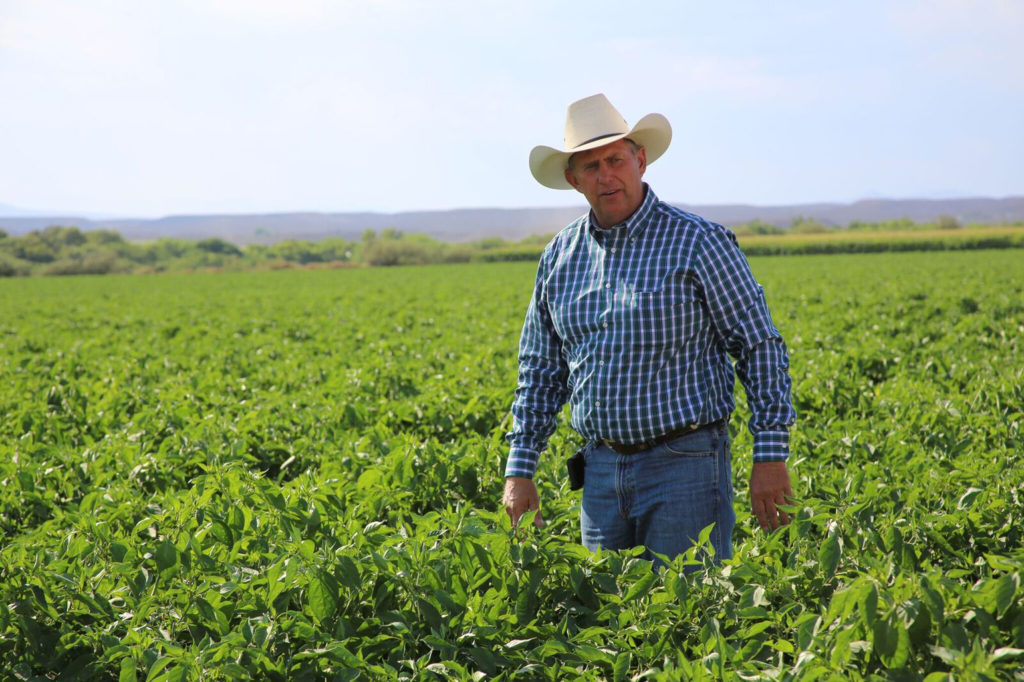
Now fast forward a few decades and you have multiple varieties of Hatch Chile peppers:
- NuMex Big Jim
- NuMex Sandia
- NuMex Joe E. Parker
- New Mexico 6-4
- NuMex Heritage 6-4
- NuMex Heritage Big Jim
- Barker Extra Hot
- NuMex R Naky
Fun Fact: Hatch Chiles are the only known chile variety to have multiple, specific, heat levels such as Mild, Medium, Hot, and X-Hot
How do they taste?
Tasty flavor, green meaty flesh, these peppers are a favorite to many. Ranging in heat from mild to extra hot, Hatch Chiles are a special type of pepper that has created an entire experience around itself over the years. This specific pepper variety is grown exclusively in the town of Hatch Valley, New Mexico and is available during a short period of time between August and September.
Where are Hatch Chiles grown?
Hatch Chiles are grown in the river valley’s combination of nutrient-rich soil, intense sunlight, and cool desert nights. These growing conditions in Hatch Valley are important to the Hatch Chile because they result in a uniquely flavored pepper, unlike any other. These peppers develop thick walls and meaty, flavorful flesh unique to other varieties. Read more HERE
Hatch Chile Nutrition Info:
HOW TO ROAST HATCH CHILES
- To roast over an open flame on the stove: Use long-handled tongs to hold the chile over a medium flame, turning occasionally until evenly charred.
- To roast over an open flame on a barbecue grill: This is the authentic traditional method and is the way our family prefers to roast our Hatch Chiles. Heat the grill until hot. Using long-handled tongs, turn the chiles over the direct heat until they are blackened and blistered all over.
- To roast under the broiler: Preheat the broiler to high. Arrange the chiles in a single layer on a baking sheet and set under the broiler. Roast until blackened and blistered all over, turning occasionally. Once roasted, chose one of our simple methods to cool and peel:
- Transfer the roasted chiles to a paper bag and roll the top down to close the bag.
- Transfer the roasted chiles to a pan and cover with a tight-fitting lid.
- Place the roasted chiles in a bowl and cover with a damp towel or with plastic wrap.
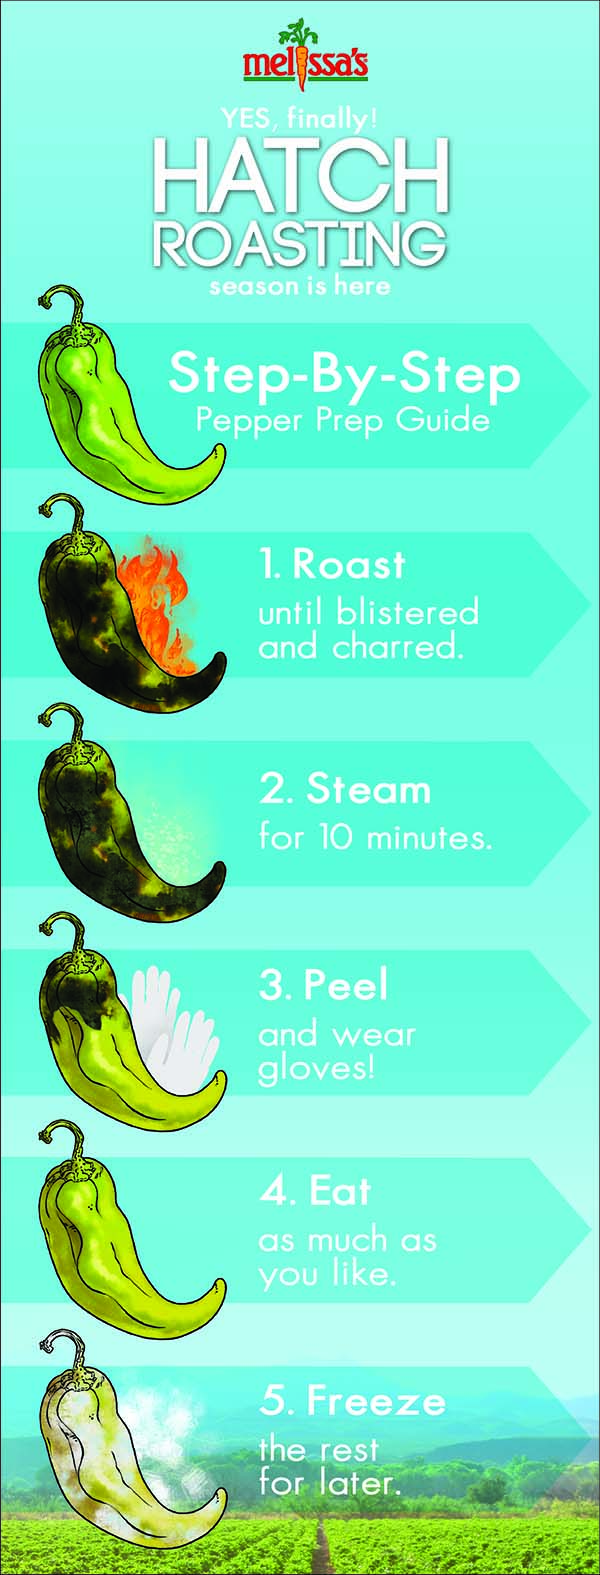
Roasted Hatch Chiles can be frozen for up to 2 years. (Note: Hatch Chiles become hotter over time, even when frozen!) Whether or not you roast your chiles in bulk, we recommend portioning them into small resealable plastic bags before freezing. This way you have recipe-sized amounts on-hand to defrost as needed.
If you don’t want to roast your own, find a Hatch Chile Roast near you by Clicking HERE
Here are a few of our favorite Hatch Chile recipes to get you excited for some roasting!!

